As soon as Windows Server 2003, Microsoft introduced the DNS dynamic secure updates.
This mechanism permits authorized hosts such as DHCP servers, for instance to update DNS entries, thus resulting in a lot of "automatically-managed" DNS records. Thus reducing the amount of manual administrative tasks.
In order to configure this mechanism:
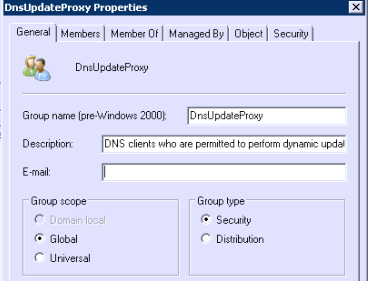
1/ create an update account, member of the DnsUpdateProxy security group

By default, the DnsUpdateProxy security group is located under the container Users of your domain.
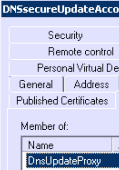
In my example, I created an account named DNSSecureUpdateAccount.
You then have to update its group membership to set it as a member of the DnsUpdateProxy security group.

Also keep in mind there are several security consideration regarding the password complexity and the password expiration of this account. You should think twice about these factors.
2/ configure DNS secure updates credentials in the DHCP snap-in
Within the DHCP snap-in:
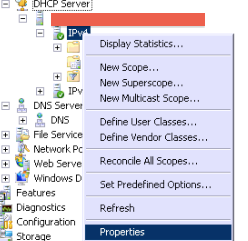
- right-click IPv4
- then go to properties

- then the Advanced tab

- then on the Credentials button, fill in the user account previously created.
3/ enable DNS secure updates
- go to the DNS tab
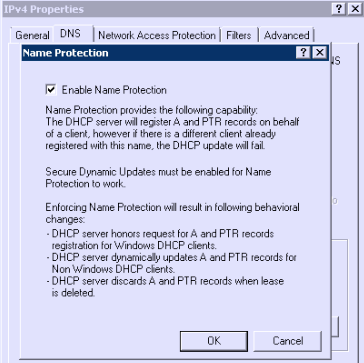
- under "Name Protection", click on the "Configure" button
- then check the box according to the screenshot:

- The DNS tab now does look like:
4/ Only allow dynamic secure updates in your DNS servers
- foreach DNS server:
- within the DNS snap-in:
- navigate to the Forward Lookup Zone, then to your domain
- right click > Properties

- Then under "Dynamic updates" set them to "Secure only"

5/ Enjoy !
Just as a test,
- I turned off a domain computer named vm1 (which was DHCP configured) (actually it was a virtual machine ;)
- then I manually deleted its DNS record on all DNS servers
- I also scavenged the records, and cleared the DNS caches
- nslookup vm1 : no entry
- I then powered it up and did a DNS lookup, and it just worked like a charmed!


